Wood Engraving with SmartCENTER Function | GCC: Laser Machines Leader Since 1989
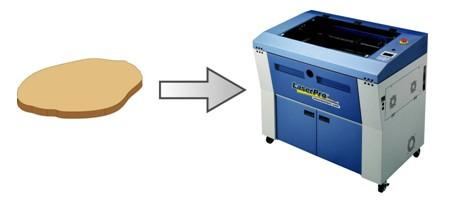
Wood engraving is frequently found in laser application. Normally we would choose either rectangular or circular wood to engrave, but occasionally we might engrave on an irregular wooden material as well, to do so, the conventional way is to draw its outline as a frame, and then place the image to be engraved in the frame. These extra steps make the whole process quite complicated.
Now, with SmartCENTER function in the GCC LaserPro Driver, you can save the effort to draw the frame for positioning your object right. Just press the positioning bottom, then the SmartCenter will automatically find the center of the object just in a blink, and start the engraving right away.
Process:
Step 1. Turn on the machine and place the object to-be-engrave on the working table.
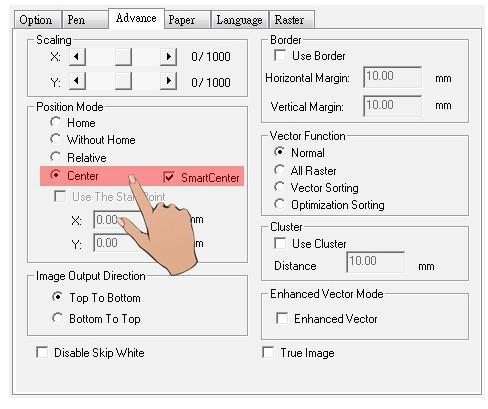
Step 2. When transmitting the file, select SmartCENTER function in the Driver.
Step 3. After transmitting, the F3 in the control panel will show “SP”.
Press F3 to set up SP.
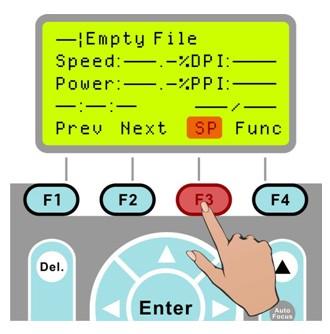
Step 4. Move the carriage to the top of the object and press F4 (Save function) for setting-up. Sequentially complete the 4 SP settings of the upper, below, left, right points.
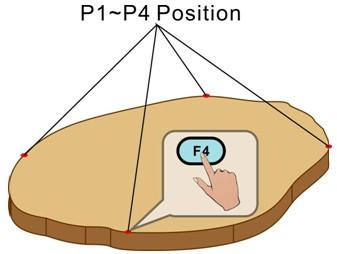
Step 5. After saving the four SP settings, the carriage will move to the center of the object automatically.
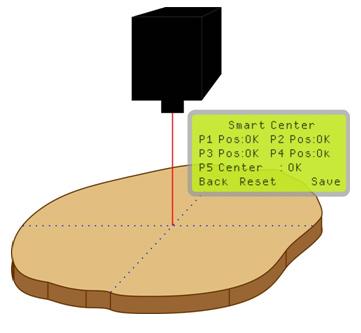 Step 6. Press Start to engrave.

Sample:
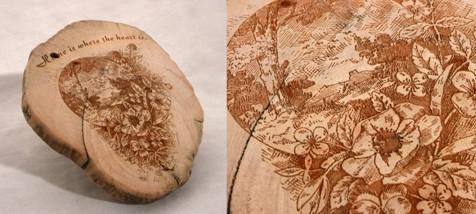
Suggested Parameters:
Spirit 30W | |||||
Speed | Power | DPI | ppi | Mode | Other |
15 % | 100 % | 600 | 400 | Stamp Mode | Air Assist |
Spirit 60W | |||||
Speed | Power | DPI | ppi | Mode | Other |
25 % | 100 % | 600 | 400 | Stamp Mode | Air Assist |
Tips:
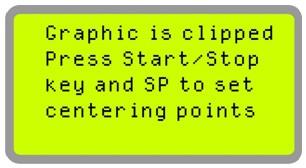
- Before transmitting the files, please roughly measure the size of the object to make sure the graphic proposition. (If the dimension of positioning is smaller then the graphic to be engraved, ERROR message will be shown).
- Pay attention to the direction of air extraction. Select either Top to Bottom or Bottom to Top function in the driver to avoid the engraved surface polluted by dust.
- The object should be placed in the same direction as the graphic so that the engraving will not overstep the surface of object.

