AAS II (Automatic-Aligning System) Contour Cutting Through GreatCut 4 | GCC: Laser Machines Leader Since 1989
Designed for great performance and to support all GCC Cutting Plotters, GreatCut 4 offers effortless production to assist users to complete print and cut solutions without changing workflows or programs. This application shows you the steps of applying the Contour Cutting function through GreatCut 4.
Create a new image in Illustrator.
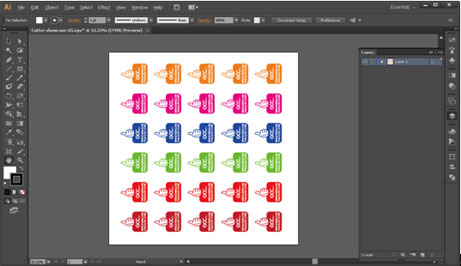
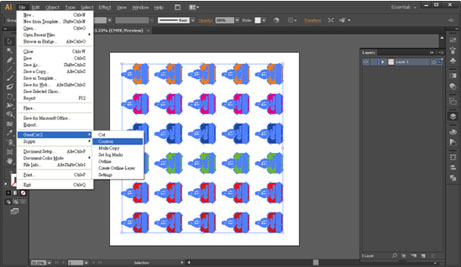
Select the entire image and go to Contour in GreatCut 4 in File.
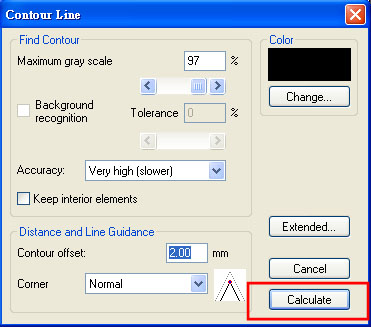
Complete contour line settings (including contour offset value) and press Calculate to confirm.
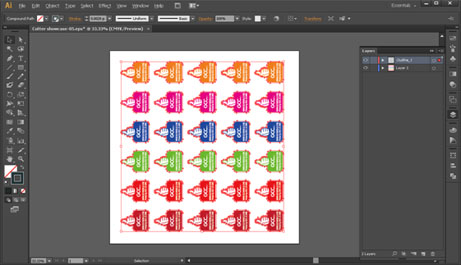
Contour line is now added to the object.
Click Settings in GreatCut 4 under File.
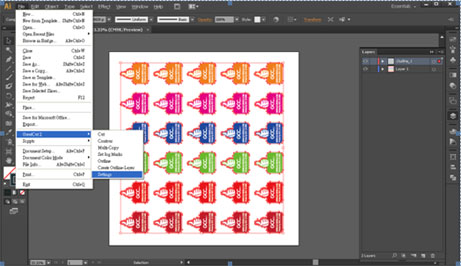
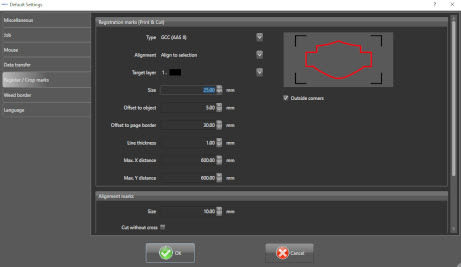
Adjust the size, object margin and line thickness of your registration marks and click OK.
Click Set Jog Marks in GreatCut 4 under File.
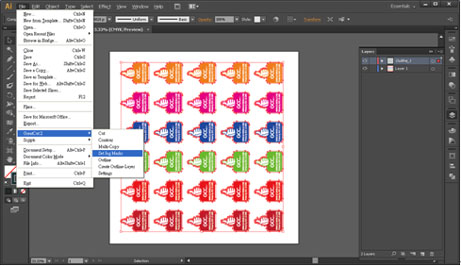
The system will create the 4 marks for your object.
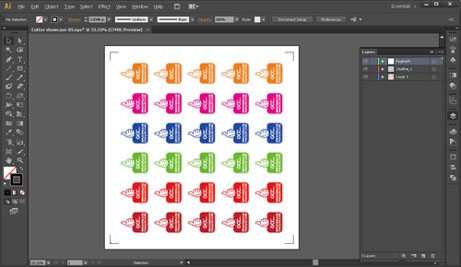
Print out your image and select the entire object (including registration marks and the contour line) then click Cut in GreatCut 4 under File.
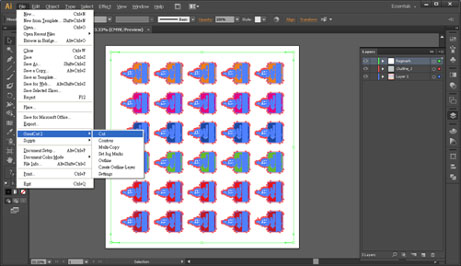
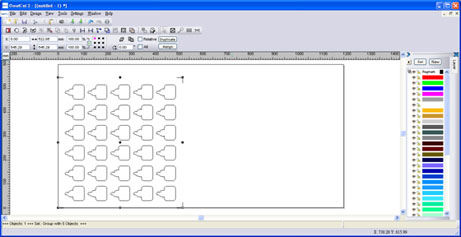
The system will activate GreatCut2 automatically and import the registration marks with contour line to GreatCut 4.
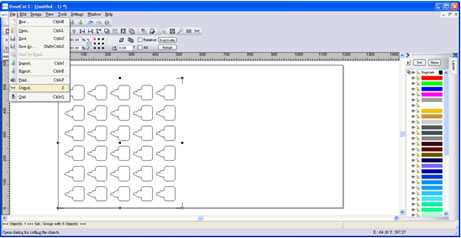
Select Output under File.
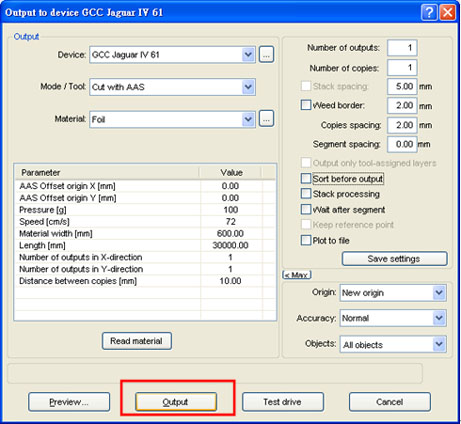
Select Cut with AAS in Mode/Tool in the Output to device window and complete parameter settings.
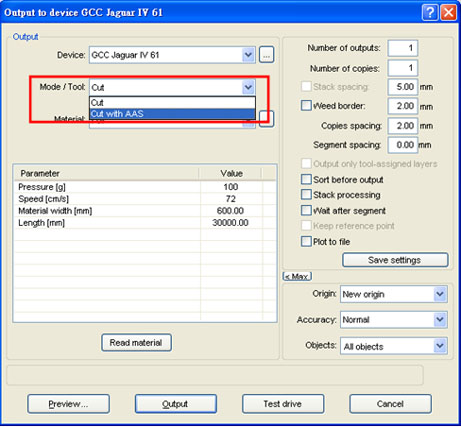
Load the material then click Output and the object will be sent to GCC Cutting Plotter.
With a user-friendly interface, users can complete all the steps of editing images, adding contour lines and registration marks in CorelDRAW or Adobe Illustrator before outputting the file. GreatCut 4 is certainly an advanced choice for print and cut applications. Please refer to this video that you may learn about the setting with GreatCut 4.
