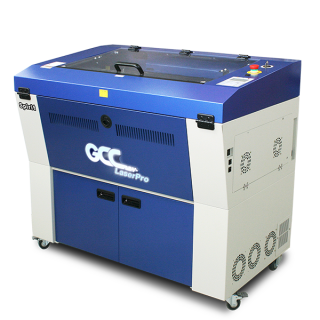
Spirit 12-100W CO2 Laser Engraver
Outlet Cover Engraving by Laser Engraver | GCC: Laser Machines Leader Since 1989
English
Applications

Showcase Video
Laser Engraver
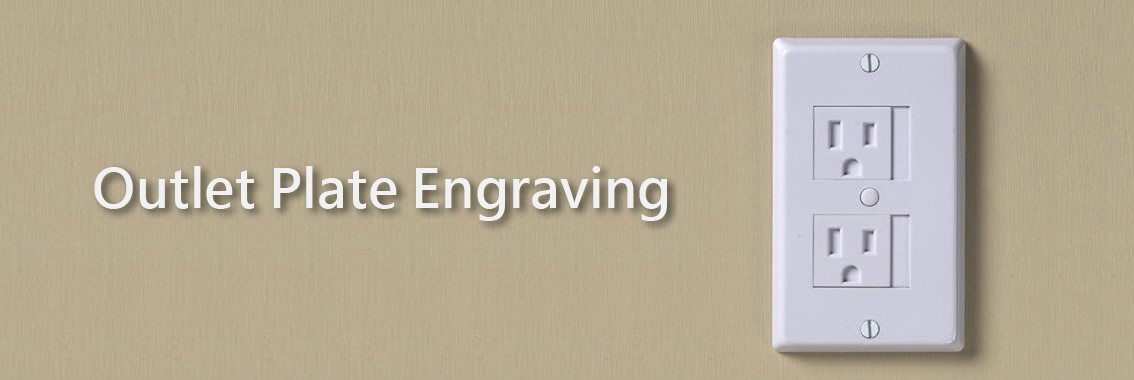
Outlet Cover Engraving by Laser Engraver
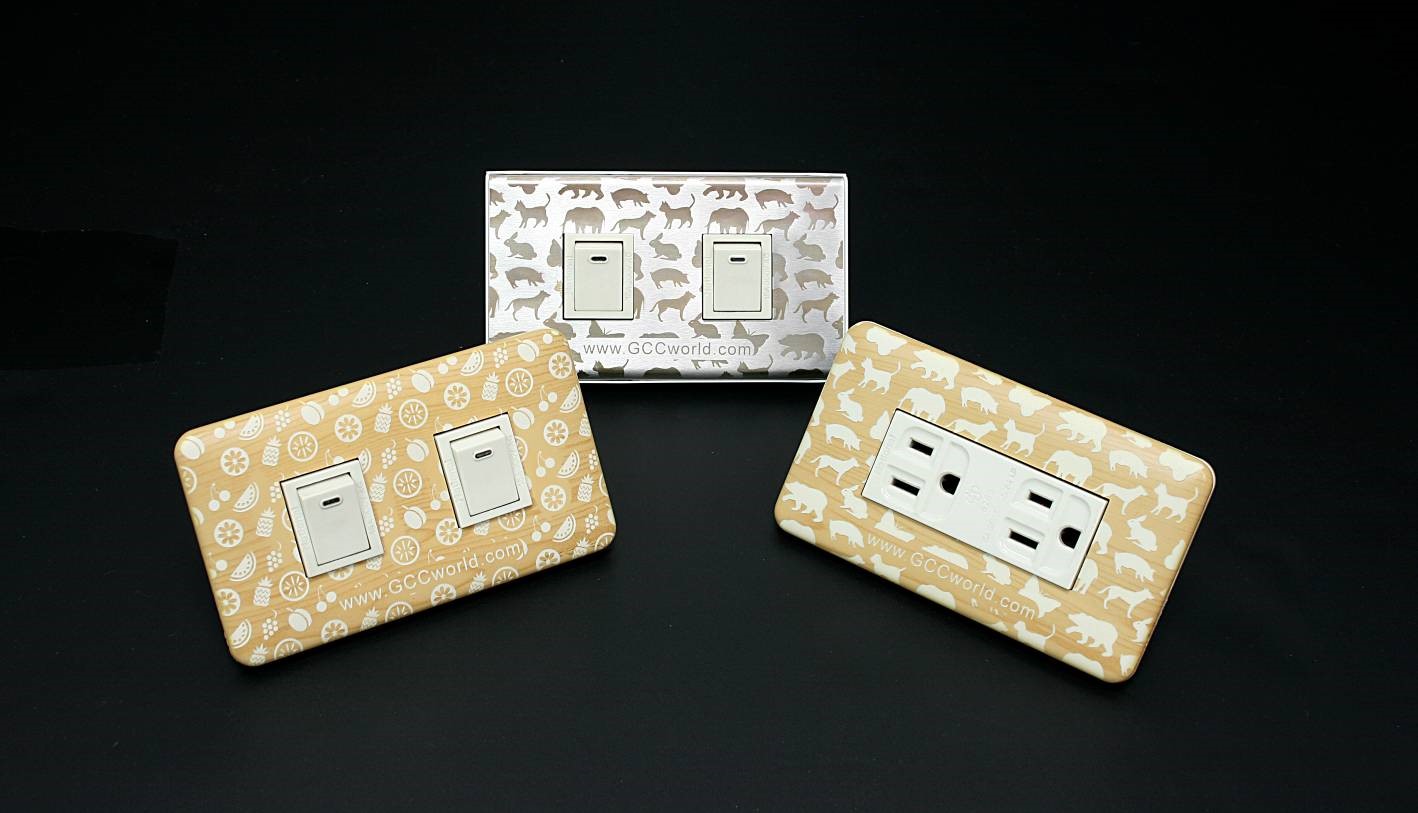
How to use GCC laser engravers to engrave unique patterns on a plain outlet plate and how it works to turn an ordinary outlet plate into a delicate finishing touch to your home decoration.
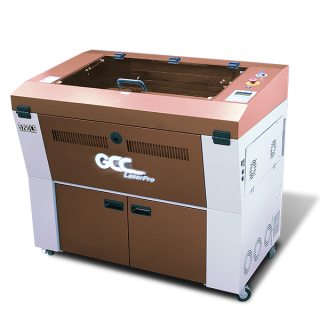
Applicable Models
Details
Outlet plates are used to cover the electrical outlets that often look not so pleasant on the wall. Outlet plates had remained simple and plain for quite a long time, but now more and more manufactures apply their design talents to different styles of outlet plates for customers to choose, adding more fun and personality throughout your home.
This month, GCC LaserPro Application Lab shows you how to use GCC laser engravers to engrave unique patterns on a plain outlet plate and how it works to turn an ordinary outlet plate into a delicate finishing touch to your home decoration.
Materials need to be prepared:
Outlet Plates on Amazon
Follow the instructions:
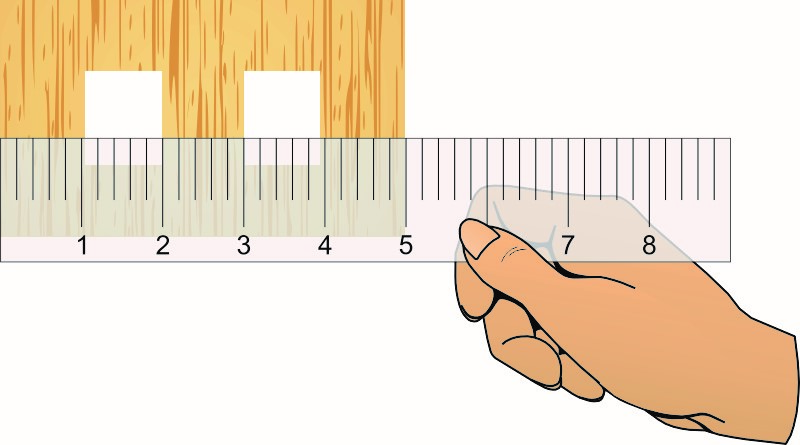
Step 1. Measure the size of the outlet plate.
Step 2. Put the jig (acrylic or stencil) on the working table and place it firmly.

Step 3. Drag the lens carriage and align the focusing tool with the jig and press Auto Focus Button to set focus distance.

Step 4. Press Start Button to engrave the outlet plate outline on the jig.

Step 5. Put the outlet plate precisely along the previously engraved outline.
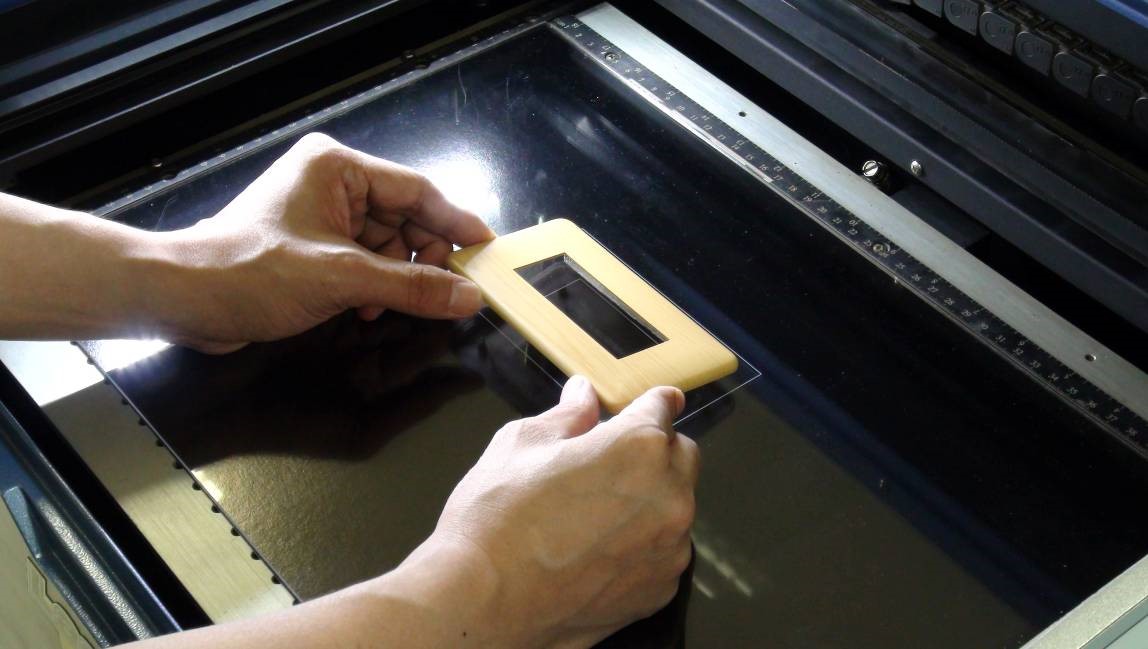
Step 6. Align the focusing tool with the outlet plate and press Auto Focus Button for auto focusing.
Step 7. Press Start Button for engraving.
Sample:
Suggested parameters:
| C180 30W | ||||
| Speed | Power | DPI | PPI | Other |
| 80 % | 18 % | 500 | 400 | Error Diffusion |
| S290 20W | ||||
| Speed | Power | DPI | Frequency | Other |
| 5 % | 80 % | 500 | 40 kHz | Error Diffusion |
*Parameters are for suggestions only and should be moderately adjusted accordingly.
Tips:
- Please place the acrylic or paper at the bottom firmly to avoid reference line shifting.
- Please make sure that the outlet plate is even before engraving, focus error would cause poor finishing result.